Winter Onederland Party

Theme parties in December can be tricky since a light or summery theme doesn't necessarily work well. My daughter didn't really watch much tv at the time of her first birthday so she wasn't really into any characters or shows. We decided on a festive Winter "One"derland theme.  (This turned out to be quite fitting in the long run considering she eventually came to love the movie Frozen and anything to do with ice or snow!)
Pinterest has so many creative ideas that inspired me (see my Winter Onederland Pinterest board).

Here are some of our own pictures that may inspire you. 

I ordered a digital, printable invitation party pack from BriezeesBoutique on Etsy
I recommend these because they typically come with invitations, banners, printables for cupcake toppers or water bottle wrappers, etc.  They're customizable and as long as you have a good printer it's easy to simply order and print these out yourself. 


The birthday girl got a special diaper cover for her big day. Ordered from kutekiddo on Etsy  


Baby girl's high chair was decorated with a banner that was part of the printable party package. She had a (DIY) smash cake and cute birthday bib.  We got a bounce house for the older kiddos. 


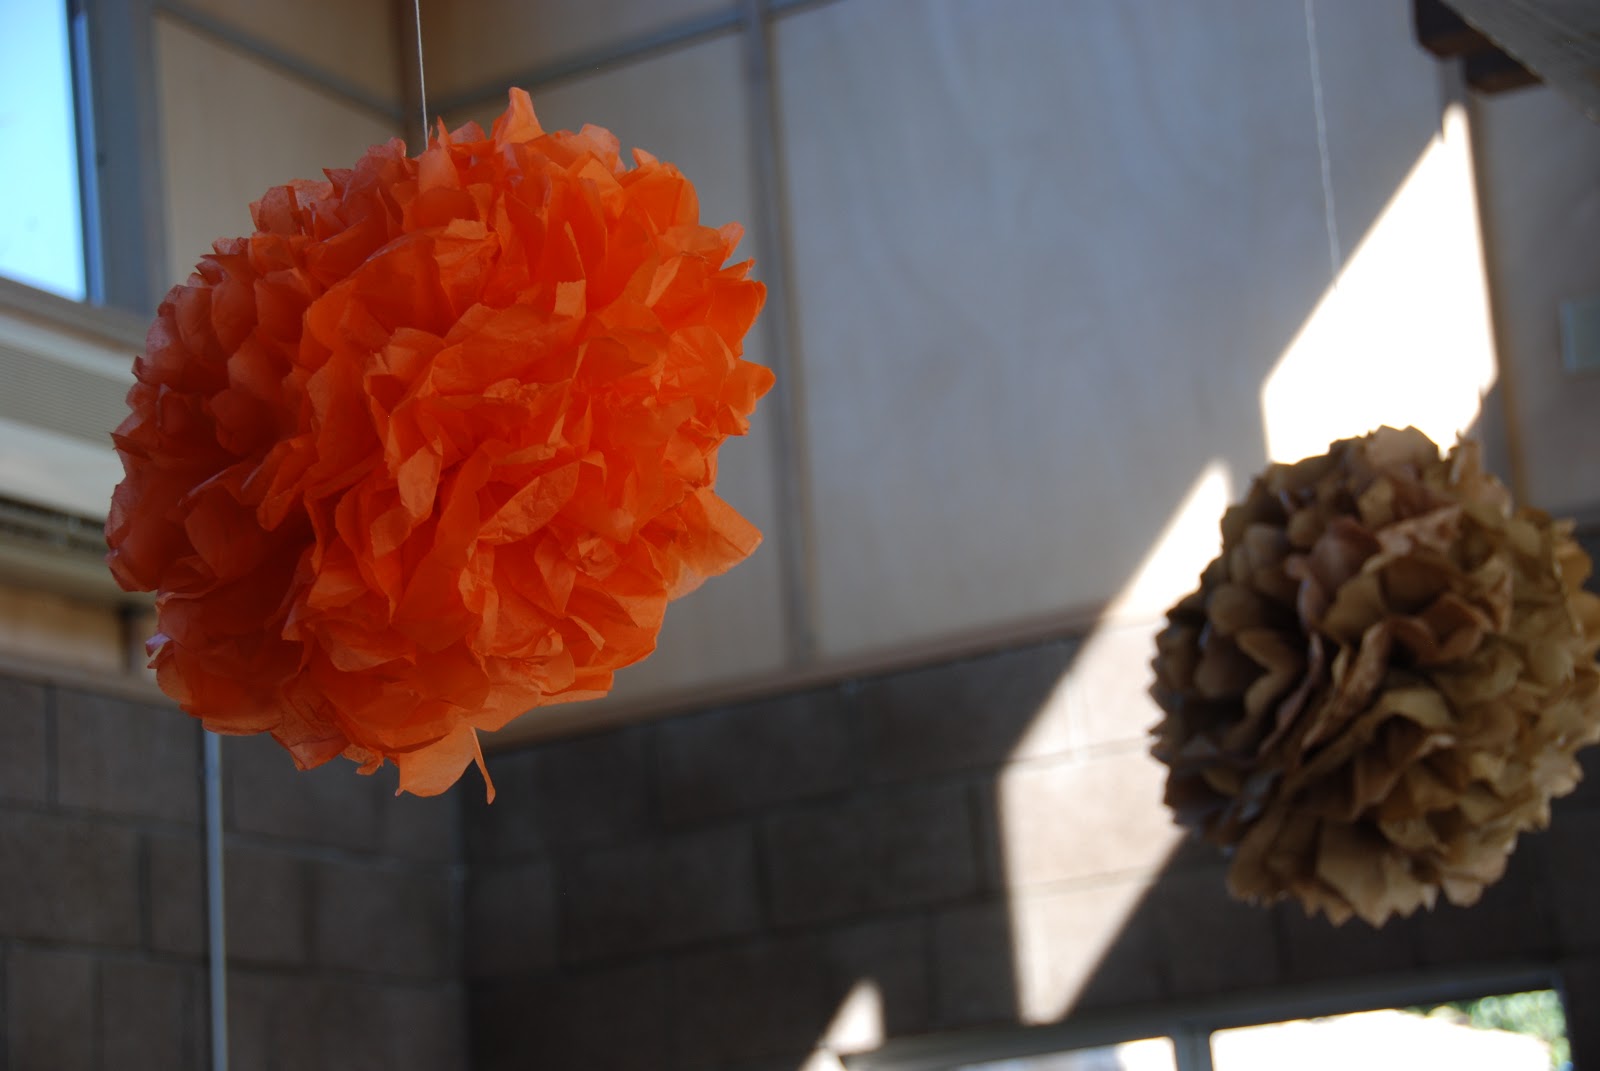
We created a photo booth area with plenty of wintery props including a 


Bags of "Buffalo Snow" or "Snow Cover" can be purchased around the holidays (or on sale after) and make a perfect snowy setting for display areas.  
Party tip: Have plenty of food and drinks and don't forget party favors
as a gesture of thanks for your guests. 


We had a wall showcasing ages 1 month to 12 months photos 
&  a Happy Birthday penant banner. 
But the icing on the cake was the icing on the cake, literally. 
I absolutely adored Olivia's 1st birthday cake from


Follow my Winter Onederland or Boy or Girl Theme Birthday Party boards on Pinterest for other great birthday party theme ideas!


Sensory Spaghetti Fun!

This is a great (and easy and cheap) toddler activity! 

I used pasta I already had on hand, but you could easily buy any type of pasta noodles at your grocery store or dollar store. Prepare it just like you were going to eat it. Drain it and pour some oil over the noodles so they don't dry out, and better yet so that they feel nice and slimy!

Add them to a large bowl, tupperware or straight on a table or the floor but I highly recommend using a vinyl tablecloth as this gets a little messy. Especially if you add food coloring, which we didn't. But you certainly can. 

I also added several other sensory items like little toys, toddler utensils, baby links, a toy lizard and bath letters. Anything that toddlers can touch, feel and discover with makes this activity all the more fun! Have a great time!  Hattie xoxo


Diaper Box Upcycle

Upcycle (a.k.a Repurposing): the process of converting waste materials or useless products into new products of better quality or of better environmental value.

So we recently had a small party and the weather was just beautiful. Unfortunately we don’t own many outdoor games. I was thinking a bean bag toss game would be fun so I started searching for something to use and came across an empty diaper box.
 (As new parents we just so happen to have a few of these lying around these days.) These boxes are really sturdy and I felt like I could be on to something here!  Plus I've been really into the idea of upcycling lately.
All I did was cut the box in half. Then using a round coaster I traced circles on the top of each half and used an Xacto blade to cut the circles out.  I painted these bright yellow and allowed them to dry. Finally my husband used paint stirrers (you know, the free ones from Home Depot that you get with the purchase of a can of paint) as both a support mechanism and to tilt the boxes.
All that I had to do now was sew 6 bean bags from some existing fabric (3 of one color, and 3 of another color for teams). I just sewed 4x4 squares w/straight lines, adding a little extra room for the seam allowance.
Easy peezy.
We set up our DIY cornhole game in the backyard. It was a lot of fun and
I'm glad we were able to reuse something that would have otherwise just been tossed.

It inspired me to see what else can be made from old diaper boxes. There are lots of great upcycle ideas online. See below for some links to a few other cool ideas.

Happy Crafting! Xoxo Hattie

Tutorial: Baby Bib in 10 Easy Steps


Our daughter started daycare today as a 'trial run' before she starts full time next week. This trial was to be sure she'd do okay there, but in actuality I think it was more for me.  I needed to be sure I was okay with her being there, so I don't become a complete emotional wreck on Monday when I start back to work. Needless to say  I was a bit down today. The house was too quiet. It's only been 4 months since she's been around, yet somehow I can't even remember or imagine how things used to be without her here everyday. Her new-found giggles, her hiccups, her cooing, even her crying are music to my ears. I felt a strong need to make something for her while she was away. So in between dropping her off, running to the store, cleaning the house and preparing meals, I managed to make a quick & easy baby bib and am providing a simple tutorial for it below. It's just 10 easy & quick steps. And if I can squeeze them into my day, so can you!
 You'll Need:
Step 1. Choose & press your fabrics. 
Step 2. Trace your pattern onto your front piece of fabric. I used an existing bib, folded it in half, and traced it onto the wrong side of a folded piece of fabric (Line the bib pattern almost right up to the fold being sure to add about 1/4" for seam allowance).


Step 3. Cut around the bib pattern, again being sure to add about a 1/4" seam allowance all the way around.

Step 4. Repeat steps 2 & 3 onto your back piece of fabric.
Step 5. Pin the two pieces of fabric right sides together. 
Step 6. Sew the pieces together, leaving at least a 1" opening on the side to turn it right-side-out.  
Step 7. Trim the seam allowance. I also make careful clips around the neck...um, because I saw that on someone else's tutorial once. (It's for making sure the round neck area lies flat.)
Step 8. Turn bib right side out. Press the bib. Turn the open section inward and pin together/closed.
Step 9. Top stitch around the entire bib.
Step 10. Sew on your closure (like your velcro pieces or some snaps).

That's it! Easy huh?  Now just find the time to make one (or ten!) of these & go find a precious little one to model your new creation!


Hattie xoxo


Easy Rice Bag Tutorial & Link-ups

DIY Rice Therapy Bags (for heat or cold therapy)

During the past few weeks of new motherhood, I've used one of these handy bags to warm up baby's crib before putting her to sleep, warm my own toes on a cold night, relax my achy neck & wrists, apply heat to get my breastmilk a'flowin', and apply both heat & cold therapy to relieve a case of mastitis. These are extremely functional and easy to make. See my tutorial below. These can be made in any size, with different amounts of rice, & in any fabric (so long as there are no metallic threads in it). I'll also link-up to some other sites that give more proper sizing & sewing directions and different versions of these bags. 

What is it?: RICE BAG FOR COLD OR HEAT THERAPY

How it works: This sewn rice bag can be placed in a microwave for approximately 1-2 minutes and will hold heat for up to 30 minutes. The bag can also be placed in a freezer for a few hours to provide cold therapy. (Note: When not in use, store in a cool, dry place)

Uses:
  • Apply a hot or cold rice bag to relieve aches & pains.
  • Apply a cold rice bag to soothe bruises, bumps, black eyes or other boo-boos.
  • Place in a crib to warm up baby's sleeping spot (they like to feel warmth. Note: If you heat the bag & wrap it in a t-shirt you've worn earlier, baby will appreciate the warmth AND the smell of you in their crib. Might make them sleep better!)
  • Place on a car seat or other seat as a DIY tooshie-warmer.
  • Place under your sheets at the foot of your bed to warm your little piggies on a cold night.
  • For Nursing Mommies: Apply the warm pressure of the bags to your breasts about 15 minutes prior to pumping or nursing to aide in let-down. It can also soothe sore nipples, relieve mastitis or loosen up clogged milk ducts.
What you need: 
  • Fabric or fabric scraps in whatever size you want. I used a piece of fabric that was about 11 x 12. It was cut incorrectly so it was crooked but worked anyway! You can truly make these any size. 
  • Pins, Matching thread
  • Rice 2-3 cups (not instant rice!)
Directions (In a nutshell):
Fold your fabric in half, right sides together. 
Press & Pin if that's your thing. 
Sew using about a 1/4" seam allowance around 3 sides leaving just 1 (shorter) side open. You can always sew a double seam if you'd like to prevent rice from coming out in case of a tear.
Trim the seam allowance. 
Turn it right side out.
Add rice to the bag. I think I used about 2.5 cups. Just don't fill the bag too much because you want it to form around whatever body part you are applying it to.

Stitch bag closed. You can either leave it at that, or you can top stitch around the bag. To do this, I shook all the rice to one side as I sewed around the other sides. I used pins to act as a barrier so the rice didn't come up to the edge. It also occured to me later that I could have top-stitched the 3 sides before I filled the bag with rice. Then just stitched the bag closed. (Classic example of learning as I go!)
I customized a version of these printable tags from Sew Mama Sew's blog and added some ribbon to finish the job. I changed the font & wording, and based on the size of this bag, noted on the tag that it only needed to be microwaved 1-2 minutes instead of 2-3 minutes. {I'd err on the side of caution and always heat it up 30 seconds or 1 minute at a time until you reach the desired temperature. If it's too hot, you can get burned!}


There are so many variations to these in different shapes, sizes, colors. Some use essential oils, some have cutesy poems attached. Just google 'rice bag tutorial' and/or just let your imagination run wild! The last time I made one, I simply used an old pair of pants, and cut the pant leg off. Then I filled it with rice and only had to sew one side. Here are some other versions I found online.


Happy Crafting!
Hattie xoxo

DIY Matching Burp Cloth, Bib & Pacifier Holder

Here's a quick post to show off the matching burp cloth, bib & pacifier holder I made for my cousin. I used the following tutorial from PRUDENT BABY. Pretty easy and very cute! I plan to make some more sets for myself!
Please try it yourself and feel free to share pictures of the sets you make! xoxo Hattie


My Little Pumpkin Theme Baby Shower


Here I am at my baby shower, sitting in my special chair
(decorated with tulle, ribbon and flowers)
that felt like a throne and made for great pics!
See below for some great shots from my Little Pumpkin themed baby shower. It was a wonderful time full of friends, family & presented plenty of DIY opportunities! Big thanks go out to my sisters in law, mother in law, and mom & aunt for all their help working with me to put this party together!
It was perfect for a gender neutral shower. Inspired by A to Zebra Celebrations, I made banners to hang over a fireplace and across various tables at the party. We also used a lot of pumpkins (both real and faux),we made tissue poms to hang from the ceilings, and instead of ordering a cake, we baked cupcakes and I simply used Wiltons 1M tip to make professional looking frosting swirls! Here are some pics!
 Enjoy xoxo Hattie


A DIY banner, pumpkins and fall silk flowers were a perfect touch!

I adore my centerpieces. Mason jars with candy corn and silk flowers.
We added rafia and ribbon to the jar and voila! Perfection! (And so easy!)
(& I love the palm tree that can be seen in the background of the photo!)

Duncan Hines cupcakes and frosting. Easy peezy.
The trick was using Wiltons 1M decorating tip
to make professional looking frosting swirls and adding a topper.


We used this tutorial for making tissue poms http://www.youtube.com/watch?v=LgeHGG-4EI8

Usually I make the diaper cakes around here!
 But my mom insisted she make mine! It was so cute!

Another banner displayed on the gift table tells my guests how much
we appreciate their thoughful & precious baby gifts!

Fruit Skewers in a pumpkin base, ham, beans, potato salad, empanadas....
Delicious!


A "Welcome Baby" banner hangs on the sign-in table.
 (One of my fave pics from the shower. Thanks Wendy!) 

Bride & Groom Christmas Ornament

The idea of trying my hand at homemade Christmas ornaments has been on my project to-do list for a while now. You can imagine how happy I was when I realized that I could kill two birds with one stone in making a wedding gift that doubled as a Christmas ornament! I came across a similar matching bride & groom ornament set online and thought, "I can make that!" A quick trip to Michael's for some felt, little flowers and ribbon and Voila! Check out the super cute ornaments I made!

I didn't make a tutorial but these were fairly simple. Felt is very easy to cut, sew, stuff and embellish. Be creative!

 I think they're precious and I loved the way they looked hanging off a bottle of bubbly and presented as a gift. Hopefully I can churn out a few more sets soon and get them up on my Etsy site. Hope you enjoy! xoxo Hattie

Decorate your own switchplate

I saw some cool [but over priced!] switchplates at a street fair not too long ago and thought, "I bet I can make that!"  And I did! Here's a tutorial on how you can too! It's actually really easy and fun (& I'm now obsessed with mod podge).
To do it my way, you'll need:
  • Switchplate (.26c at home depot) - Take out the screws and set aside
  • A printed image (I chose to print it on the 3.5 x 5 size option on standard printer paper and it was nearly the perfect size)
  • Mod Podge Acryllic Sealer (optional)
  • Mod Podge (I used Gloss not Matte, Outdoor, Satin or Shimmer although you may decide you want to use one of these formulas for a different effect)
  • Foam Brush, Baggie 
  • X-acto Knife
  • Pencil, Scissors and Patience
Decide on an image and print it out. After my first attempt at making these, I decided on using an acryllic sealer on the image first so that the colors wouldn't bleed when I started using the mod podge on it. Let it dry completely and then place the switchplate where you want it and trace it on the paper, adding about 1/2 inch margin all the way around to fold over the back. Cut it out.

Using a foam brush and working quickly, add a layer of Mod Podge to both sides of switchplate and to the back of the paper. Stick the paper to the switchplate and once you've centered it where you want it, fold the top/bottom/sides over the back. Mod Podge over the folded paper on back. Use your fingers or a smoothing tool to work out any wrinkles or bubbles. Note: Mod Podge goes on white but it dries clear. Let your project dry completely (I waited a few hours just to be sure).


Tip: Put your cover back on your Mod Podge container AND cover your foam brush with a baggie so they don't dry out between coats!

Fast forward to when your switchplate is ready for round two. Use your X-acto knife to poke out the screw holes & the switch hole. You may need to use a toothpick or other tool to 'carve' them out. I cut an "X" over the switch hole and folded back the paper. Use another layer of mod podge on both the front and back of switchplate and again, let it dry completely. (I let mine dry outside)


Repeat with as many layers of Mod Podge as you want. When it's done, put the screws back in. (Paint screws to match if you'd like!) I used the acryllic sealer again at the end for a final 'seal' although technically mod podge is already a glue, a sealer and a finish.

Here are my 3 of my finished switchplates.

Also feel free to check out these links I found for DIY switchplates from other talented crafters. They're all so different & so creative!

Martha Stewart
CraftElf
Design-Bug
The Steampunk Workshop
PinkChalkStudio
MySweetThings
JosieJones

Good luck and please send me pics of yours!
xoxoxo Hattie

"Sewfari" Inspired Aprons

Here are the two aprons I made for my nieces. My brother said one loves leopard prints and the other, zebra prints. PERFECT! I immediately let myself become safari & polka dot inspired and came up with these very cute & trendy half aprons!                                                    


The girls liked them and even want me to sew little matching ones for their American Girl Dolls, which I will do with all the leftover fabric! 
I also plan to post these on my Etsy Shop as I will definitely be making more (bc I need the practice AND I think these are simply adorable!)! 
What safari or nature inspired creations have you done lately? I would LOVE to see!
Hattie