My Little Pumpkin Theme Baby Shower


Here I am at my baby shower, sitting in my special chair
(decorated with tulle, ribbon and flowers)
that felt like a throne and made for great pics!
See below for some great shots from my Little Pumpkin themed baby shower. It was a wonderful time full of friends, family & presented plenty of DIY opportunities! Big thanks go out to my sisters in law, mother in law, and mom & aunt for all their help working with me to put this party together!
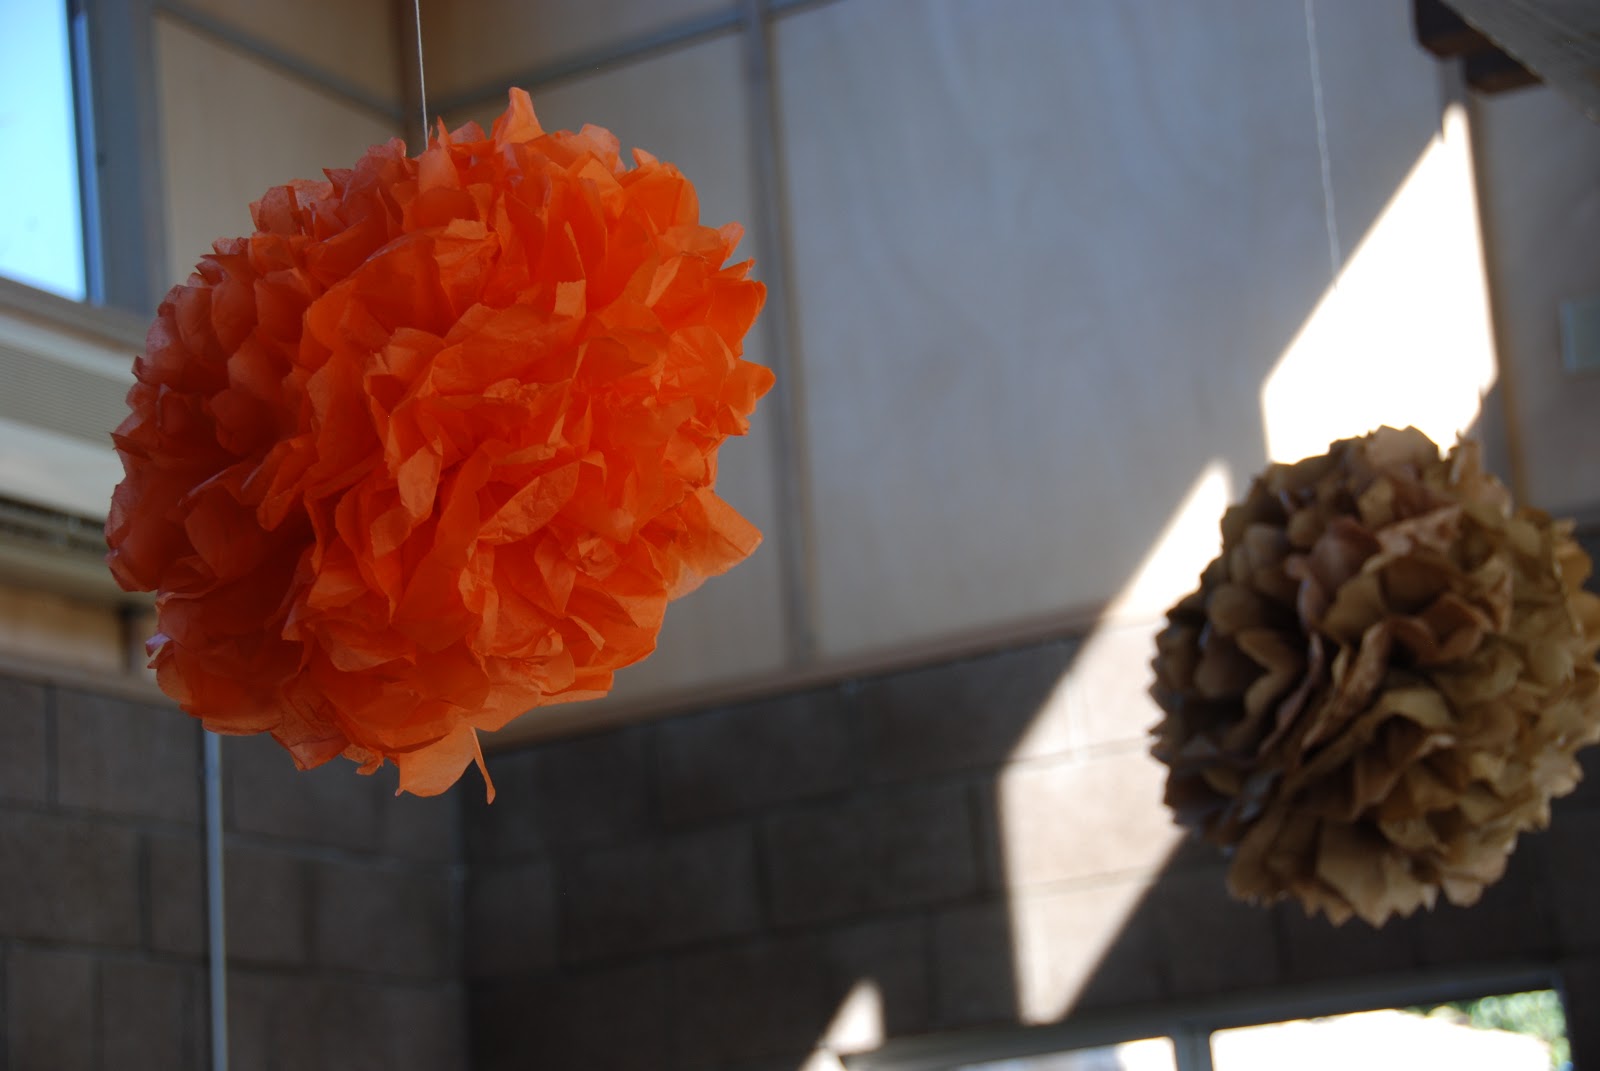
It was perfect for a gender neutral shower. Inspired by A to Zebra Celebrations, I made banners to hang over a fireplace and across various tables at the party. We also used a lot of pumpkins (both real and faux),we made tissue poms to hang from the ceilings, and instead of ordering a cake, we baked cupcakes and I simply used Wiltons 1M tip to make professional looking frosting swirls! Here are some pics!
 Enjoy xoxo Hattie


A DIY banner, pumpkins and fall silk flowers were a perfect touch!

I adore my centerpieces. Mason jars with candy corn and silk flowers.
We added rafia and ribbon to the jar and voila! Perfection! (And so easy!)
(& I love the palm tree that can be seen in the background of the photo!)

Duncan Hines cupcakes and frosting. Easy peezy.
The trick was using Wiltons 1M decorating tip
to make professional looking frosting swirls and adding a topper.


We used this tutorial for making tissue poms http://www.youtube.com/watch?v=LgeHGG-4EI8

Usually I make the diaper cakes around here!
 But my mom insisted she make mine! It was so cute!

Another banner displayed on the gift table tells my guests how much
we appreciate their thoughful & precious baby gifts!

Fruit Skewers in a pumpkin base, ham, beans, potato salad, empanadas....
Delicious!


A "Welcome Baby" banner hangs on the sign-in table.
 (One of my fave pics from the shower. Thanks Wendy!) 

Bride & Groom Christmas Ornament

The idea of trying my hand at homemade Christmas ornaments has been on my project to-do list for a while now. You can imagine how happy I was when I realized that I could kill two birds with one stone in making a wedding gift that doubled as a Christmas ornament! I came across a similar matching bride & groom ornament set online and thought, "I can make that!" A quick trip to Michael's for some felt, little flowers and ribbon and Voila! Check out the super cute ornaments I made!

I didn't make a tutorial but these were fairly simple. Felt is very easy to cut, sew, stuff and embellish. Be creative!

 I think they're precious and I loved the way they looked hanging off a bottle of bubbly and presented as a gift. Hopefully I can churn out a few more sets soon and get them up on my Etsy site. Hope you enjoy! xoxo Hattie

Decorate your own switchplate

I saw some cool [but over priced!] switchplates at a street fair not too long ago and thought, "I bet I can make that!"  And I did! Here's a tutorial on how you can too! It's actually really easy and fun (& I'm now obsessed with mod podge).
To do it my way, you'll need:
  • Switchplate (.26c at home depot) - Take out the screws and set aside
  • A printed image (I chose to print it on the 3.5 x 5 size option on standard printer paper and it was nearly the perfect size)
  • Mod Podge Acryllic Sealer (optional)
  • Mod Podge (I used Gloss not Matte, Outdoor, Satin or Shimmer although you may decide you want to use one of these formulas for a different effect)
  • Foam Brush, Baggie 
  • X-acto Knife
  • Pencil, Scissors and Patience
Decide on an image and print it out. After my first attempt at making these, I decided on using an acryllic sealer on the image first so that the colors wouldn't bleed when I started using the mod podge on it. Let it dry completely and then place the switchplate where you want it and trace it on the paper, adding about 1/2 inch margin all the way around to fold over the back. Cut it out.

Using a foam brush and working quickly, add a layer of Mod Podge to both sides of switchplate and to the back of the paper. Stick the paper to the switchplate and once you've centered it where you want it, fold the top/bottom/sides over the back. Mod Podge over the folded paper on back. Use your fingers or a smoothing tool to work out any wrinkles or bubbles. Note: Mod Podge goes on white but it dries clear. Let your project dry completely (I waited a few hours just to be sure).


Tip: Put your cover back on your Mod Podge container AND cover your foam brush with a baggie so they don't dry out between coats!

Fast forward to when your switchplate is ready for round two. Use your X-acto knife to poke out the screw holes & the switch hole. You may need to use a toothpick or other tool to 'carve' them out. I cut an "X" over the switch hole and folded back the paper. Use another layer of mod podge on both the front and back of switchplate and again, let it dry completely. (I let mine dry outside)


Repeat with as many layers of Mod Podge as you want. When it's done, put the screws back in. (Paint screws to match if you'd like!) I used the acryllic sealer again at the end for a final 'seal' although technically mod podge is already a glue, a sealer and a finish.

Here are my 3 of my finished switchplates.

Also feel free to check out these links I found for DIY switchplates from other talented crafters. They're all so different & so creative!

Martha Stewart
CraftElf
Design-Bug
The Steampunk Workshop
PinkChalkStudio
MySweetThings
JosieJones

Good luck and please send me pics of yours!
xoxoxo Hattie

"Sewfari" Inspired Aprons

Here are the two aprons I made for my nieces. My brother said one loves leopard prints and the other, zebra prints. PERFECT! I immediately let myself become safari & polka dot inspired and came up with these very cute & trendy half aprons!                                                    


The girls liked them and even want me to sew little matching ones for their American Girl Dolls, which I will do with all the leftover fabric! 
I also plan to post these on my Etsy Shop as I will definitely be making more (bc I need the practice AND I think these are simply adorable!)! 
What safari or nature inspired creations have you done lately? I would LOVE to see!
Hattie


Baby Cakes (And Baby Cake Alternatives)


Here are some Hattie's Baby Cakes I've made over time for friends and family. Mine always include 100% usable "ingredients" like Pampers, shampoo, onesies, teethers, blankets, bottles, booties and more. They can be customized to any theme and make great centerpieces or shower gifts.

There are lots of tutorials for these on Pinterest and you can be really creative with them. But lately I've been admiring some diaper creations that are even more unique and really cute. I especially like the diaper sushi rolls. It's almost like the days of these traditional diaper cakes are out and newer diaper cake alternatives are in. I've got to step up my game!

Check out some of these cute diaper cakes with a twist. Most of these links have tutorials for your convenience! Share your links and pictures if you have some of your own!  - Hattie XOXO

Sushi Diaper Platter
Diaper Wreath
Diaper Cupcakes
Diaper Stork Sack
Diaper Bouquet
Diaper Owl

xoxo Hattie


Hattie's Sew Lovely Greeting Cards


Check out these handmade greeting cards I created today!

With scraps of fabric , a fun zig-zag stich and some rubber stamps I found at Michael's this week (bought with a coupon, of course!) I made some more of these fabulous and simple cards.

The design possibility on these cards are endless! I literally don't have enough time in the day to sit at my machine creating these, but I'm going to try to squeeze in making as many as I can, whenever I can!
Let me know how you like these or if you've made anything similar, please share! I'd love to see!

MAKE IT A GREAT DAY! xoxox Hattie